Showing posts with label Pretty. Show all posts

Monday, 19 August 2013

Happy Birthday!

Hello All

This is the most belated Birthday haul ever but, i thought i would quickly show you all what i got for my birthday! I think you all know me by now to know that i am in no way bragging, i'm extremely grateful for everything i receive from anyone and i am doing this post to show my appreciation not to brag or anything like that! So here goes!

So firstly my mam bought me this beautiful Topshop jacket which i have wanted for the longest time but just didn't want to part with £60 for it, so my beautiful mother bought it for me. 


My little sister (not so little) bought me these amazzzing Miss Selfridge shorts:


And these crazy presents, very typical of my sister and I:
Stick on food eyes, to be mature and make our food come to life.
A cute chocolate bar.
Finger Moustaches.


I love these presents, she knows me too well! 
My love for moustaches will never end! My friends and I went out for my birthday and we each wore a moustache on our fingers hence why a few are missing in the picture.
Here's me wearing mine, i've cut my friends out as i'm not sure they will all want publicised on my blog haha!:


Ok, my step-dad and my mum put a little box together for me filled with loads of the things i love! I love little cute thoughtful presents like this! As it was full of little goodies i've only included a little sample of pictures of what was inside as i would be here all day if i were to show you everything!


Then, my lovely boyfriend gave me loads of beautiful things including this massive lot:


I was in love with both of these Mean Girls themed tops and i had no idea he was getting me the shoes but he knows me too well, i love them!

However some of my fave presents aside from my mums and my sisters, were these two from Sean:

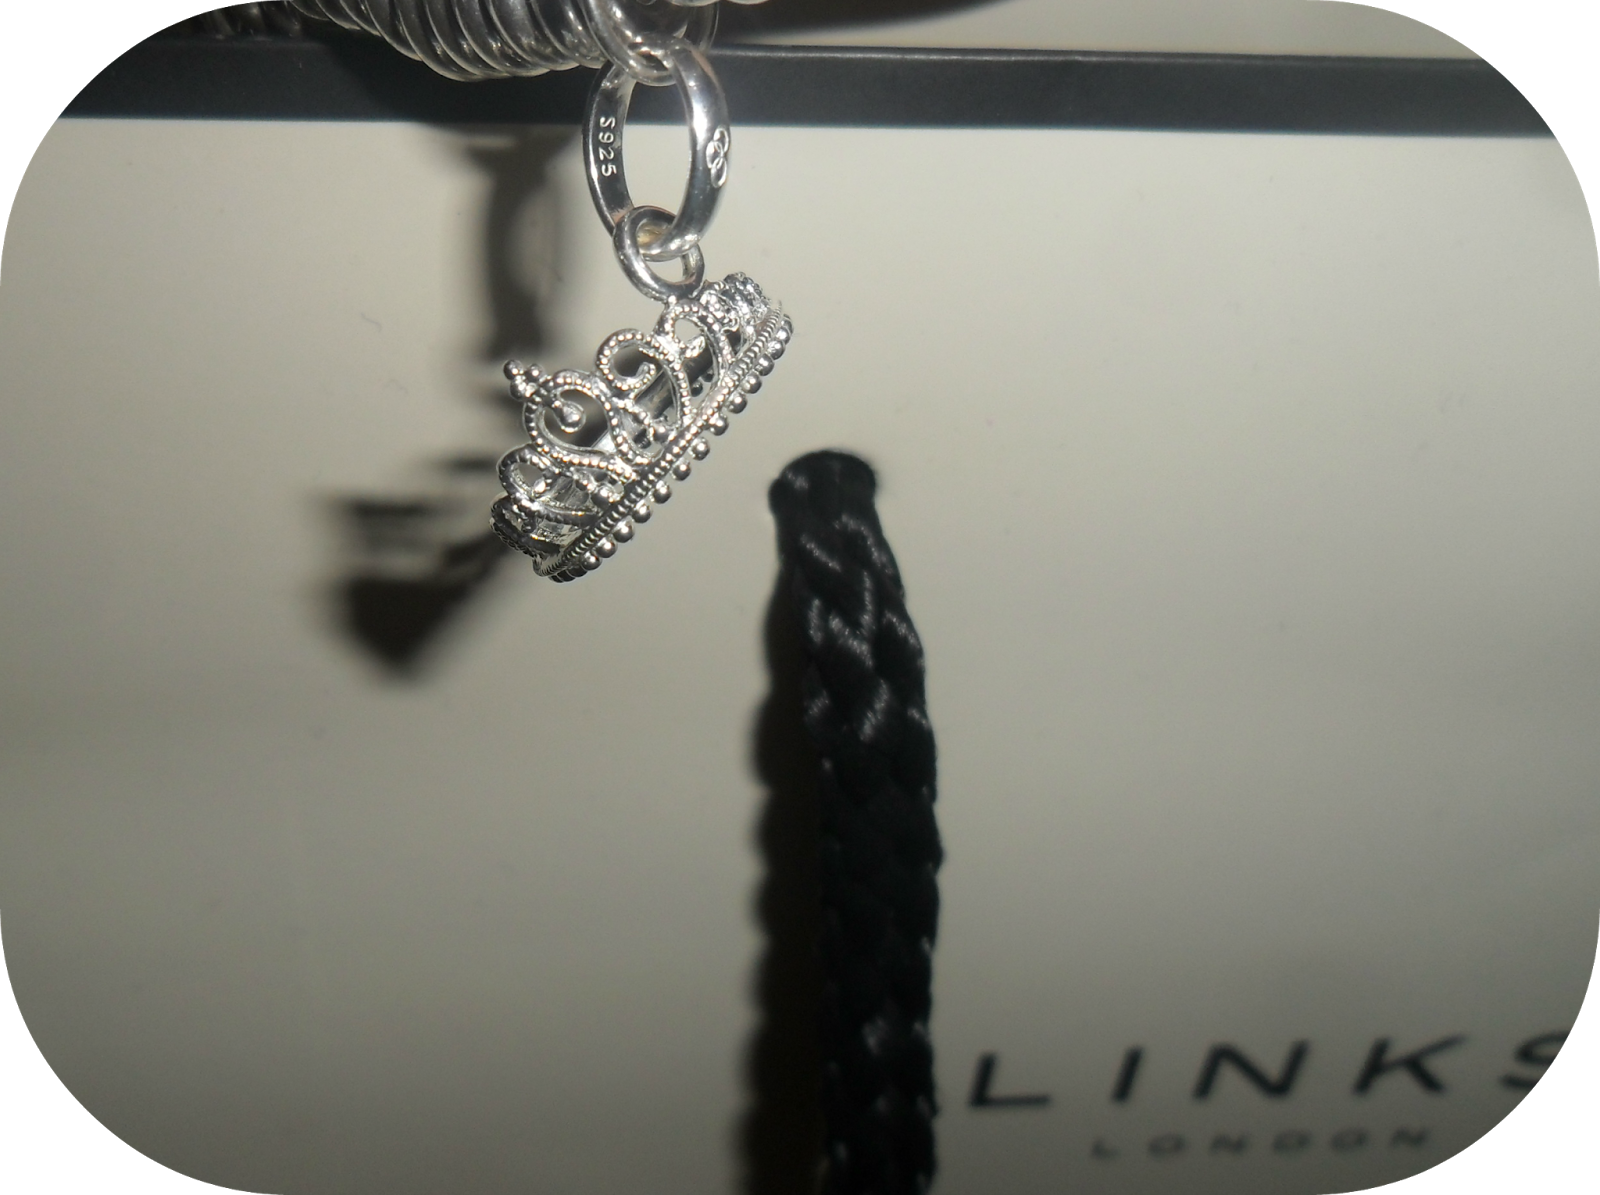
Crown Links of London charm for my bracelet.

Annnnd...


Amazing crystal bra. I am overly in love with this, what girl wouldn't like a crystal encrusted, sequinned, beaded bra? It looks so beautiful under low arm-holed tops or low cut, backless tops and makes a statement to simple outfits. I am yet to wear it out but when i do i will be sure to post how i style it!

Anyway,
Thats pretty much everything i got for my birthday!
I love everyone who got me presents and wished me a happy birthday and i truly had a lovely day!
Hope you all enjoyed this haul, i have loads of hauls and reviews coming so stay tuned!

A

Friday, 3 May 2013

DIY Sweet Tree - Cute Gift Idea!

Hellooo 

This is literally my third time trying to upload this post, how infuriating! Anyhow, hopefully it actually works this time! Right, so it was my baby sisters 21st (not so baby then..) last weekend and i wanted to give her a unique cute present that meant something to us both so what i eventually came up with was a flying saucer tree! My sisters fave sweetie is flying saucers so i decided those on a tree would look really really cute. I've seen a few of these online and decided that rather than pay in excess of £30 for one, i could definitely make one myself which would be all my own little touches and would mean more to my sister than one quickly bought online.

This is how it turned out:

Without going on and on, i think the tree went really well and i wanted to share a quick post on how i made it and the steps i took to make it look just as pretty as the ones you buy online!

What You Need:

Polystyrene Ball  - I used a 15cm one £2.99 from Hobbycraft.
Cocktail Sticks - I needed loads of these and got them free from my work.
Dowel Stick - I also got this free from work but you can cut a curtain pole or use bamboo stick.
Sweets - I used flying saucers - around 300!
Ribbon - Any colour.
A Pot or Tub - I used a garden pot i already had.
Plaster of Paris - If you don't have this you can use clay or playdough to pack the pole in.

Lets Get Started!

Step 1:

Firstly, i made a hole in the bottom of my ball and with some glue around the rim i pushed my stick into it and let that dry to attach the ball to the dowel pole. I then used plaster of paris to set my stick into my garden pot and let that dry overnight.


Step 2:

The next stage is to choose a ribbon colour you want to cover your pole in. I chose a really pretty glittery one from Card Factory for £1.99. Basically to attach this all i done was put a little glue at the bottom of the pole and wrap all the way up to the top, cut the excess and glue at the top to secure. It doesn't even have to be very neat at the top of the bottom as it will pretty much be covered. I put some pretty pink tissue crumpled up in the pot and some flower confetti. 


Step 3:

Now your pole and pot look pretty but you need to get on with the ball! This stage is the most fidgety and time consuming although still mega easy. My boyfriend and i sat for ages attaching saucers to cocktail sticks then starting from the bottom of the ball sticking them all in one by one. As i got further up the ball however, i realised that it was actually easier (for me anyway) to stick the cocktail sticks in first, then attach the saucer. Some of the saucers split and some lost their sherbet but, that's ok, just means you get to eat them ;).

Starting from the bottom makes it easier as if you leave that part until last you will find it difficult to go around the pole and fill all the spaces. A tip i would say is that the tree, in my opinion, looks prettier and bigger if you don't push the cocktail right into the ball, instead leave a little space between the sweet and the ball. 


Step 4:

Basically you just work all the way up the ball with the sweets until you can no longer see any of the ball. Then, when you reach the top you just go all the way around seeing if you can in-fill any spaces, then you're done! You can add any other decorative things you want to the pot/pole etc but i like mine the way it turned out and my sister loved it too!

Here's the finished product:


Hope you liked this little tutorial!

If you try this please please tweet me a picture i'd love to see @labellavida2 or tag me in an instagram pic, my insta name is Ashlee_yy

Also, i'm having issues with my posts showing up on blogger and it's really starting to bug me! If you have any suggestions on how i can fix this annoyance pleassse please tell me how!
A

Friday, 26 October 2012

Rimmel Lasting Finish Matte Lipstick by Kate Moss - First Impressions Review

Hello 

Since i bought these lipsticks i have been asked a few questions about how long they last, how matte the appearance is, the colour's etc, so i thought i would review them today for you! 

I bought two of the Rimmel Lasting Finish Matte collection by Kate Moss for £4 each on promotion in ASDA, i'm not sure if this is ongoing but you can pick them up from Boots, Superdrug etc for around £5.49 each.


I picked up the lipsticks in shade 107 and 110. 


I'll start on 110! So this lipstick is a bight red colour despite it looking quite orange in the picture (it's definitely red!). I loved this as soon as i seen it as i love love love matte lips and i love red lipstick on anyone! It's a simple colour and can really add a pop to a plain outfit. 


Here's a swatch of the colour on a lovely close up of my hand! It was hard to get a picture of this on myself as the lighting today is really awful but i tried, so here are a couple (excusing my minimal 'work appropriate' makeup look!)..


Doesn't really match the dress does it? It looks a bit brighter in the pictures due to my flash i had to use because of the lighting, but i think they show how more red it is than orange. I love the colour and having worn it yesterday for around 5/6 hours baring in mind i had drank coffee, been outside all day and eaten lunch, i would say it's staying power is pretty good! 

Anyway, i also love it in shade 107!


This one is more of a winey sort of reddish purple (great description skills Ash!) colour. I picked this shade up before shade 110 and decided that i have enough reds and just to get this one instead.. but nope, i just got both! I decided to swatch and put this one on for you guys to see too :)..


As you can see it is more of a wine colour sort of in-between a red and a purple. I also took some pretty rubbish photos of it on the lips and me doing crazy faces..


Matches the dress much better! I have to say, despite me being an avid red fan, this is quickly becoming my new favorite lipstick. It takes a while to dry into the lips and become a bit more smudge proof but it is a really pretty matte colour and really looks lovely on. Obviously in the middle picture i don't have the lipstick on.. i was mid-application but thought it would be a good picture to show contrast between my actual lips and the lipstick.

Overall, i love the Matte collection by Kate Moss and i probably will buy one or more of the other available colours. I plan to compare these to the original Lasting Finish by Kate Moss lipsticks but, i already know i prefer the Matte ones just because i really love the finish. I know matte lips are not every one's cup of tea though! I will say that i feel they are a tiny bit drying on the lips but not excessively so and you can use a balm under them, it will just mean they may not look as matte.

Also, the smell of these is really really nice for a lipstick. I don't really know how to describe it but they smell almost fruity? Not sure, but it's really nice in my opinion!

I am going to wear one of these over the weekend for a whole day and see how long they last without  any reapplication. I will take photos (better ones in natural light!) and keep you updated! 

Do you own any of the Rimmel Lasting Finish Matte collection?
Do you love them as much as me, or am i the only fan?